As mentioned in the previous posts, the Matlab simulation has several issues and can only track slow rotations. Therefore, during the December holiday, I have managed to migrate the whole algorithm to a proper microcontroller of STM32F4 series and obtained much better simulation result from there.
With the new method, the microcontroller gets the data from MPU9250 using interrupt, calculates the orientation and publishes the resultant quaternion to my laptop via USB serial communication. Processing was then used to collect the quaternion data and visualize the result for testing. As the calculation of Quaternion Kalman Filter is now done by MCU instead of by Matlab, it solved the problem in previous posts.
With the new method, the microcontroller gets the data from MPU9250 using interrupt, calculates the orientation and publishes the resultant quaternion to my laptop via USB serial communication. Processing was then used to collect the quaternion data and visualize the result for testing. As the calculation of Quaternion Kalman Filter is now done by MCU instead of by Matlab, it solved the problem in previous posts.
The development board I bought was NucleoF429ZI. As the name suggests, the microcontroller it equips is STM32F429 which runs at 180MHZ which should be more than enough for our flight controller simulation. It also features a 2M Flash and includes all the necessary peripherals that you could find on an Arduino.

The corresponding IDE I chose was IAR embedded workbench.Another useful tool I used was STM32CubeMX provided by ST. It provides a simple GUI tool for you to enable corresponding peripherals and auto generates initialization code.
For this project, I need to enable I2C peripheral to interface with my MPU9250 sensor module from SeeedStudio as well as UART for serial communication with my laptop. The picture below shows the corresponding configuration inside CubeMX.

On the left side of the image, both I2C1 and USART3 are labelled green, showing that they are enabled. After which you can click project->generated code to generate initialization code for STM32. EWARM is selected as toolchain as I am using IAR embedded workbench as IDE. More detailed tutorials of how to use CubeMX can be found here.
Completing code generating will give you a folder that look like this.

An extremely useful feature of using STM32CubeMX is that you don't have to configure anything, all the necessary drivers and files are already being grouped nicely into individual folders. Opening
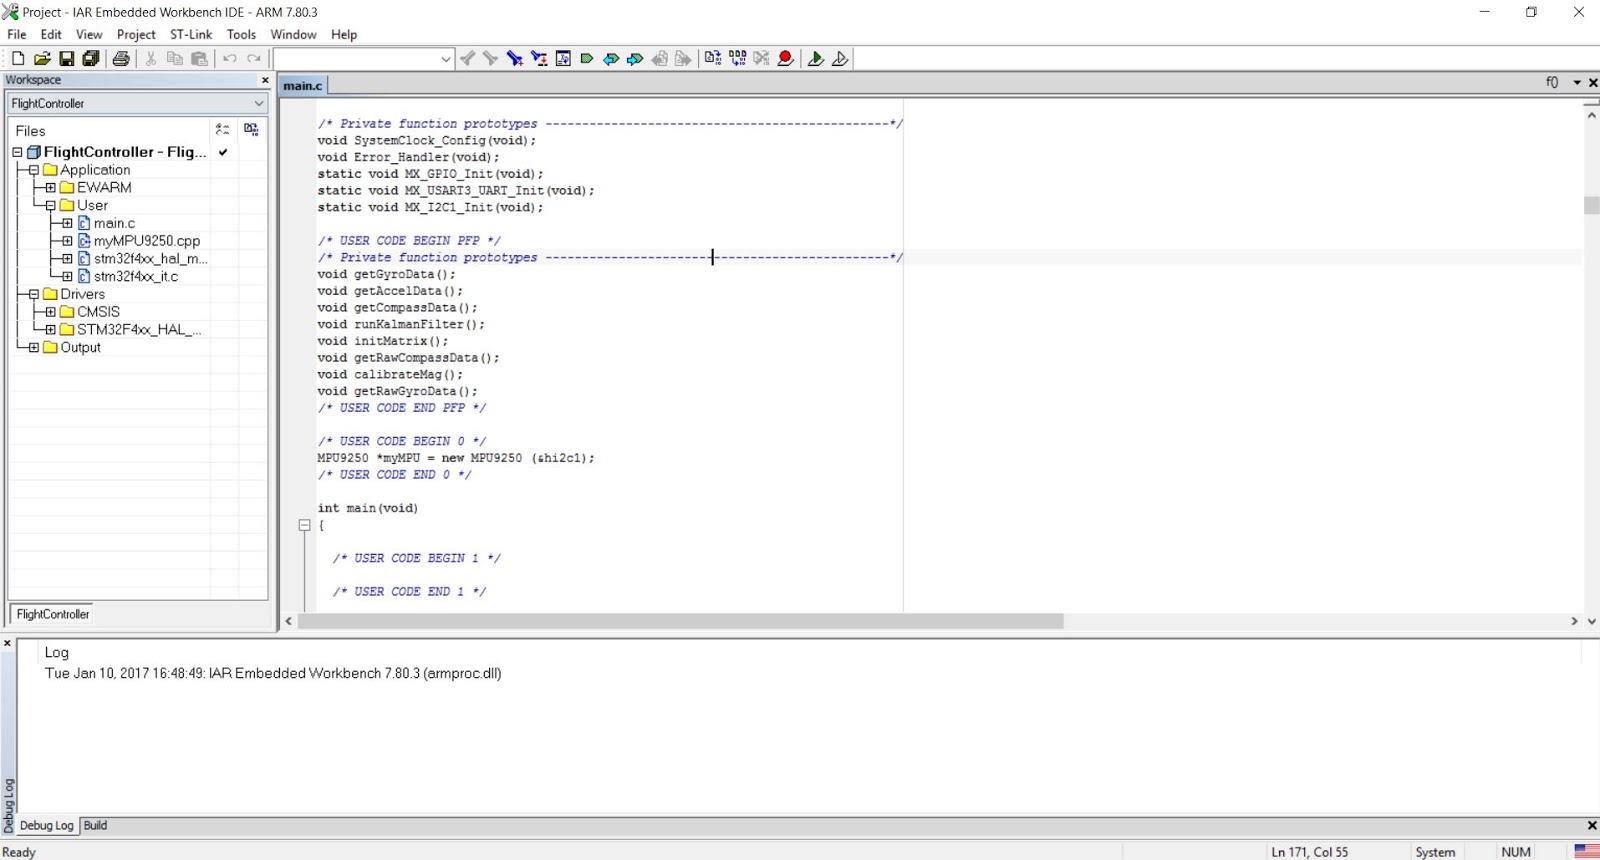
EWARM->project.eww led me straight into IAR workspace as shown in the figure below.

main.c has already included the initialization code for I2C and UART as well as other necessary system initialization. The next step is to change the project language from c by default to C++ as I am writing OOP. It could be easily changed by right-clicking project name, select options->c/c++ compiler and select c++ under language 1 as shown in the figure below.


The next step is re-write all the code that I used previously into IAR workspace. My complete code could be found in my Github. Future posts will cover the code in more detail as well.
No comments:
Post a Comment